The forms are linked together now but it's time to configure some of the higher level settings
| Panel | ||
|---|---|---|
| ||
In the Module Settings Part of the Case Management Tutorial you will learn how to:
|
...
Define a Case Type
The first thing we need to do is to define a case type. Each module in case list in an application could deal with a different type of case. For example, you might have one module that deals with pregnancies and another one that deals with babies. These are different types of cases and so we need to specify.
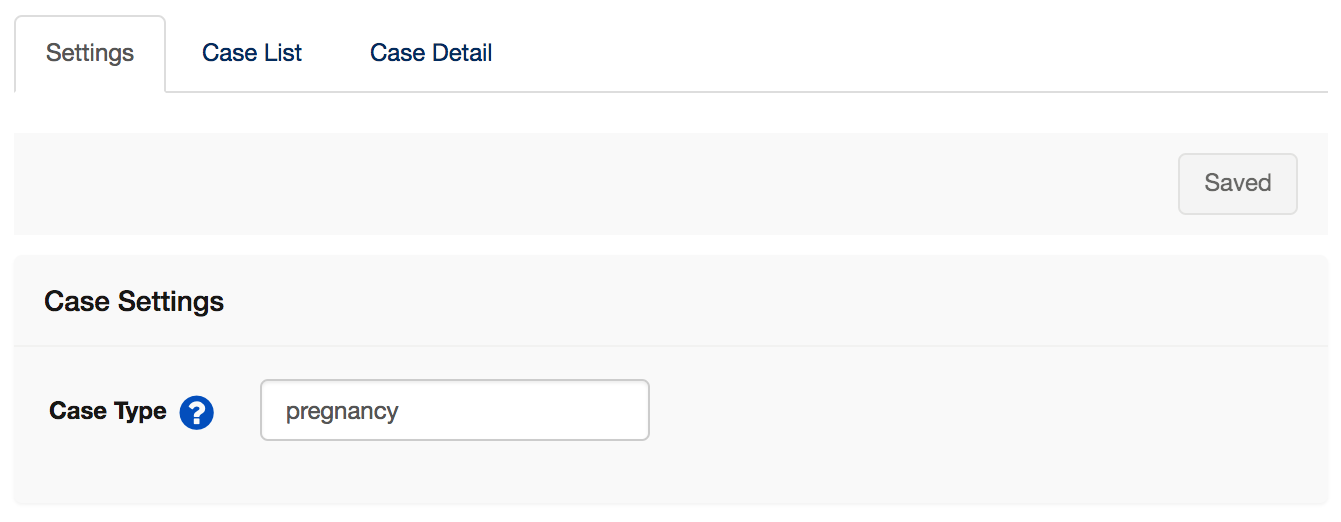
The name of the case type should be simple - let's just call it: pregnancy.
By clicking on "Case List" you can edit the name of the case list to make it "Pregnancy":
We also want to change the "Label for Cases" - where there is a list of cases on the phone you can think of this as the title of that list. Let's opt for: Pregnant Women.
- Navigate to Under the Module "Settings by clicking on "Pregnancy" on the left side of the screen (the one with the folder icon next to it)
- Click on the "Case Managment" Tab
- For case type fill in "pregnancy" and for Label for Cases fill in "Pregnant Women"" tab enter case type "pregnancy"
- Confirm you have something like what is below and save your changes:
...
Setting up the Case List
We also need to do at least a little basic set up for that that list of women will look like. At a minimum we should have their names on the list!
...
want to change the "Label for Cases" - where there is a list of cases on the phone you can think of this as the title of that list. Let's opt for: Pregnant Women.
- Under the "Settings" tab enter case type "pregnancy"
- Confirm you have something like what is below and save your changes:
Additionally, you want the case to show up properly on the phone's case select screen when choosing a case. Enter "Pregnant Women" on the "Case List"
...
...
tab.
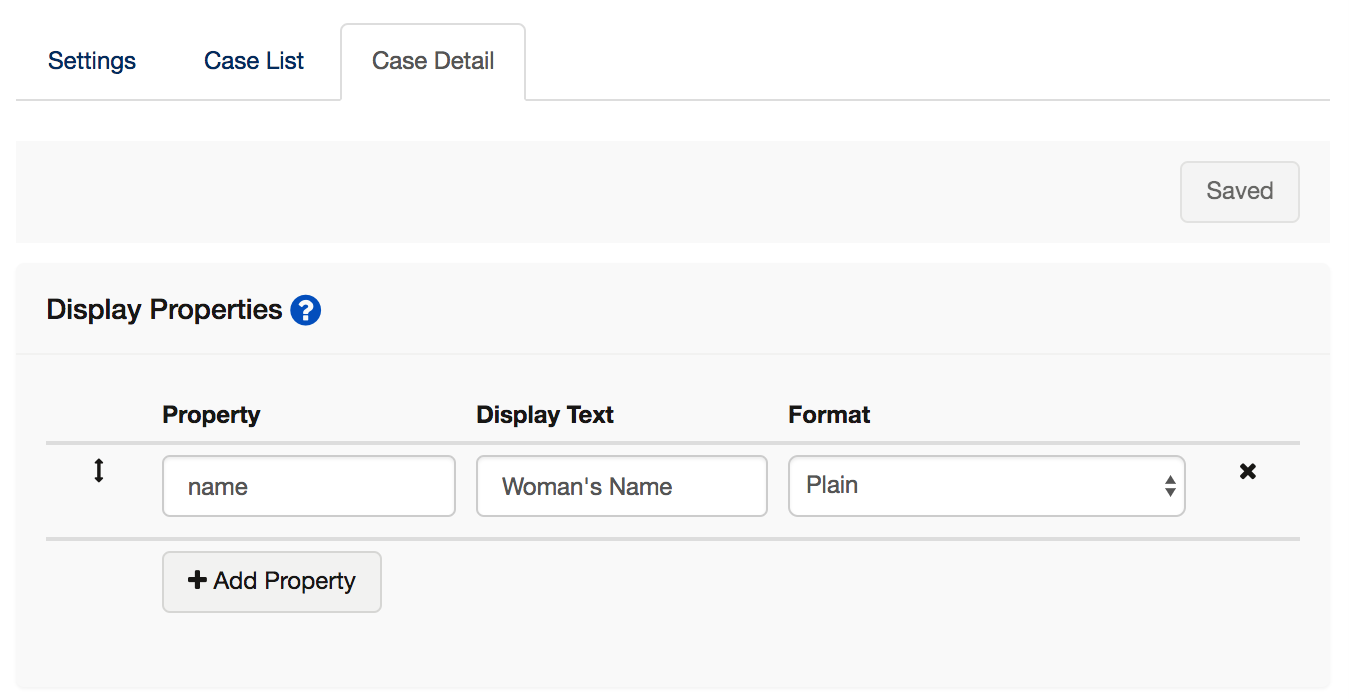
Similarly, you want to know whether or not you have selected the correct case on the confirmation page. Enter "Pregnant Women" on the "Case Detail" tab.
Don't forget to save your changes!
Test Your Application!
Make a new build of your application and test it out. You should notice the following:
- You cannot enter the Home Visit or Birth Outcome forms without having registered someone using the Registration Form
- Each case you add using the Registration Form shows upon up on the List you see when clicking on Home Visit or Birth Outcome
- If you fill out a Birth Outcome form for someone their name will be removed from the Case List
...
The next tutorial is that Advanced Case Management Tutorial where you will learn about some of the powerful things that Case Management can do.
Go back to the main page of this tutorial or the list of tutorials.
| Panel | ||||
|---|---|---|---|---|
| ||||
Basic Case Management Tutorial Home
|


