...
So far we have successfully linked our registration, follow-up, and birth outcome forms. But, it is time to add some complexity and unlock the full potential of case management.
1.
...
Saving Data from the Registration Form
Go to your application and click on the gear icon next to the "RegistrationRegister" form, navigating to the Case Management Tab, as shown shown below:

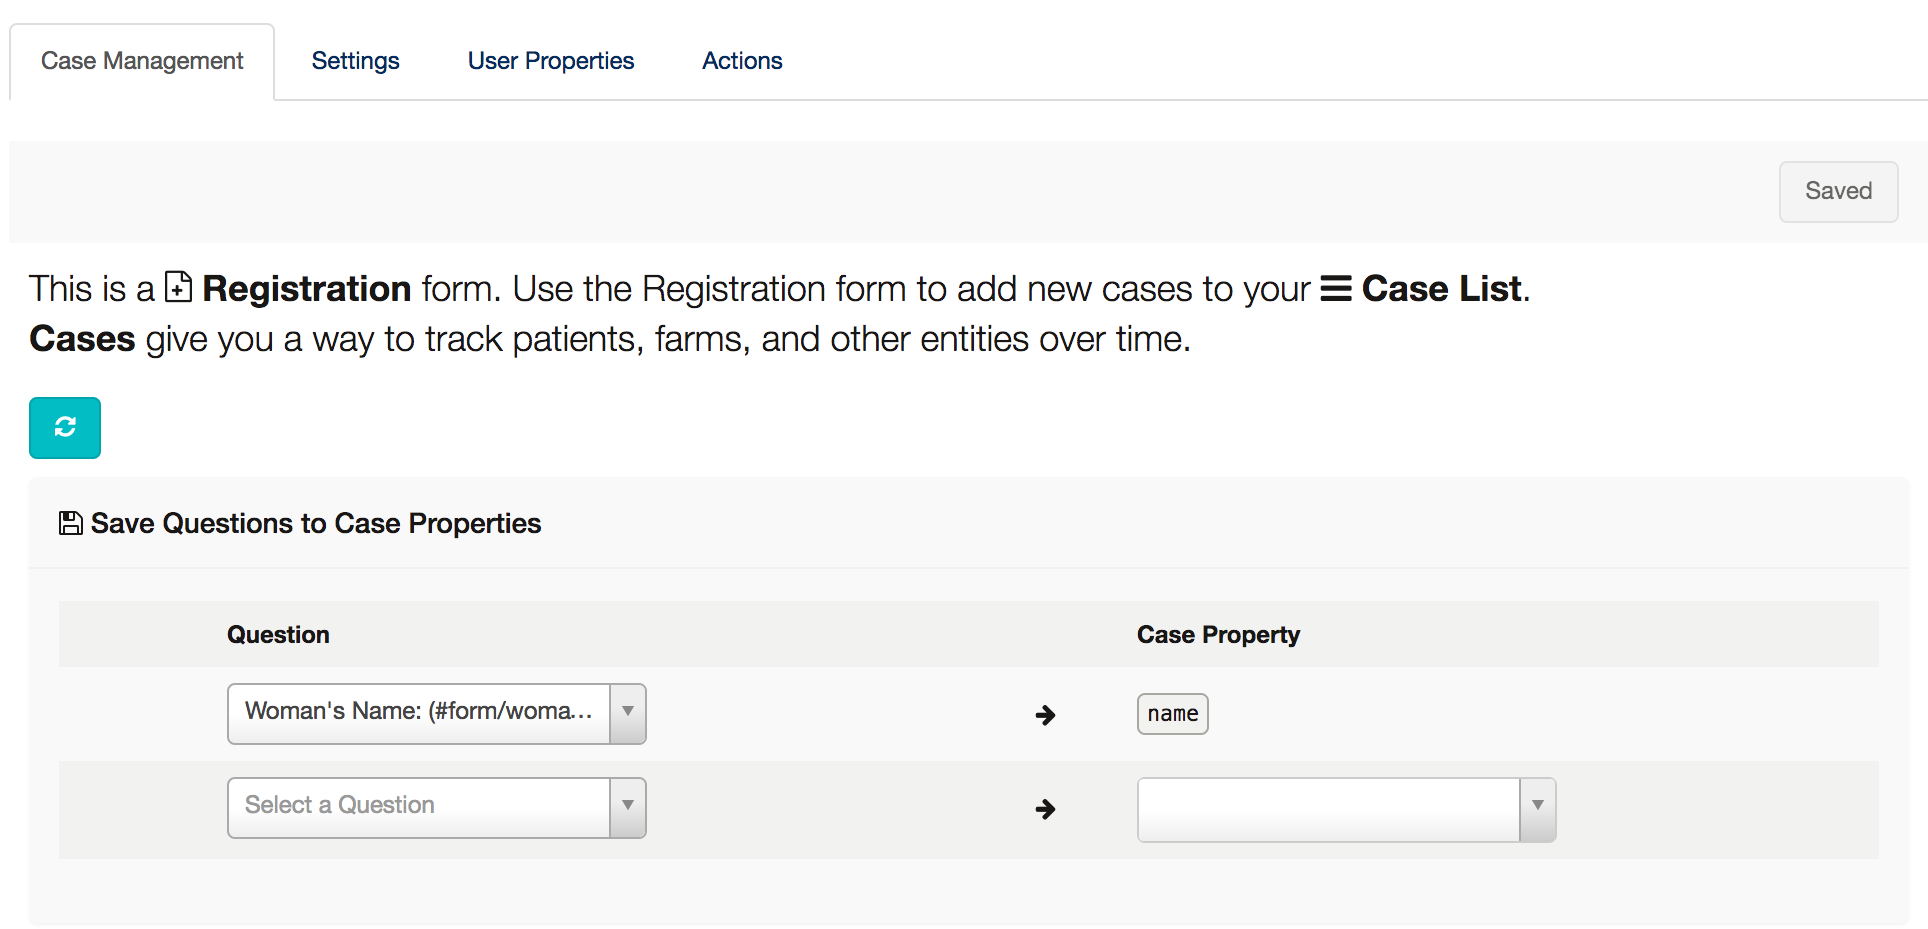
So far you have only saved data to one case property- a special one called "name." Every case has a property called "name" which is important so that we have something not-technical to refer to each case. It doesn't have to be a person or village name- it could be an ID code or some other sort of identifier. And as noted in the previous tutorial, two cases can have the same name property.
Now that "name" is referred to in the registration form you can refer to it in any other form that uses the same case type. But our application will be much more useful if we can refer to other case properties.
Case properties are useful because:
- we can see them in the case list and case details, if we choose to
- we can reference them in other forms
- in some cases, they are useful for data analysis purposes
Let's go ahead and save most of the questions from the Registration Register form as case properties.
It may be useful to know each woman's village, so that the mobile user can use that in planning their visits, so let's choose "Village Name" in the second row:
Go to the drop-down menu that says "Select a Question" and choose the question "Village Name:"

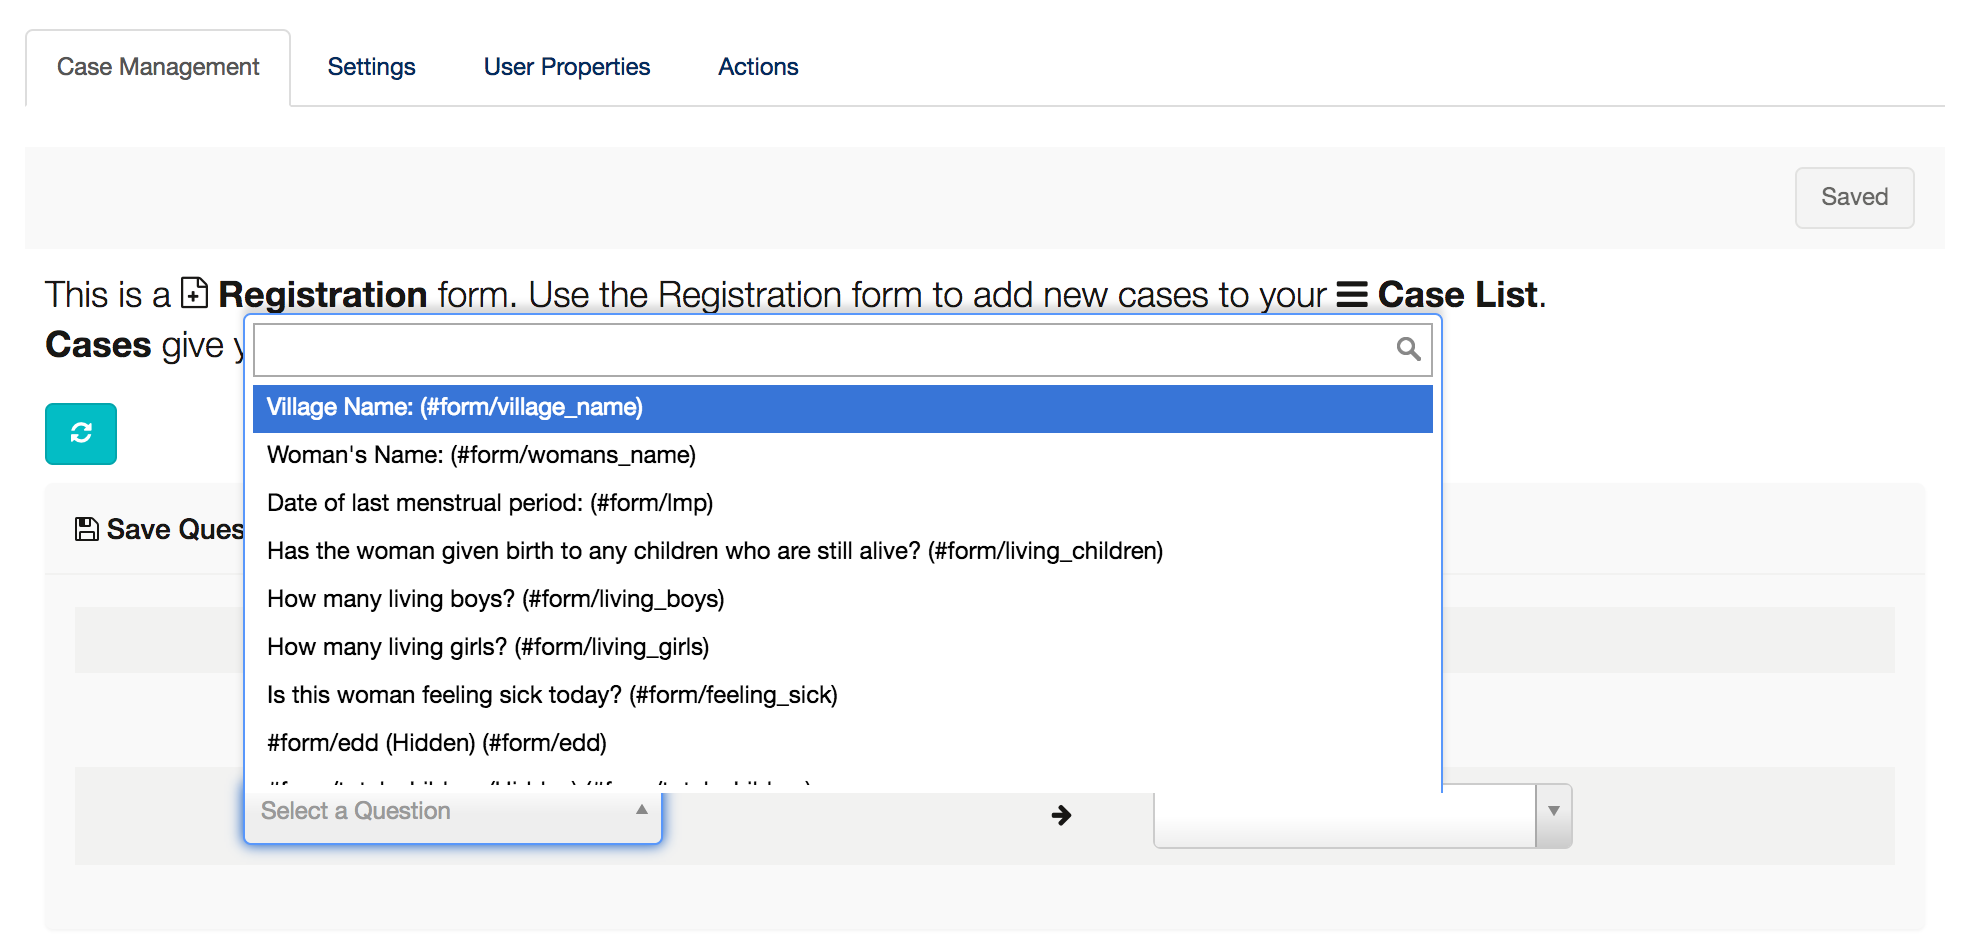
You will see that CommCare automatically populates the Case Property column with the Question ID. You can manually change this if you want to call it something else in the case. Changing the name here will not affect the Question ID. However, if you want to refer to village in a different form you'll have to call it by the Case Property instead of the Question ID. Case Property names follow the same rules as Question IDs (i.e. you can't start with a number, you can't have spaces or special characters, etc.)
Go ahead and also add the questions about Date of Last Menstrual Period, Living Children, Feeling Sick, and Total Children so that your "Save data" box looks like this:

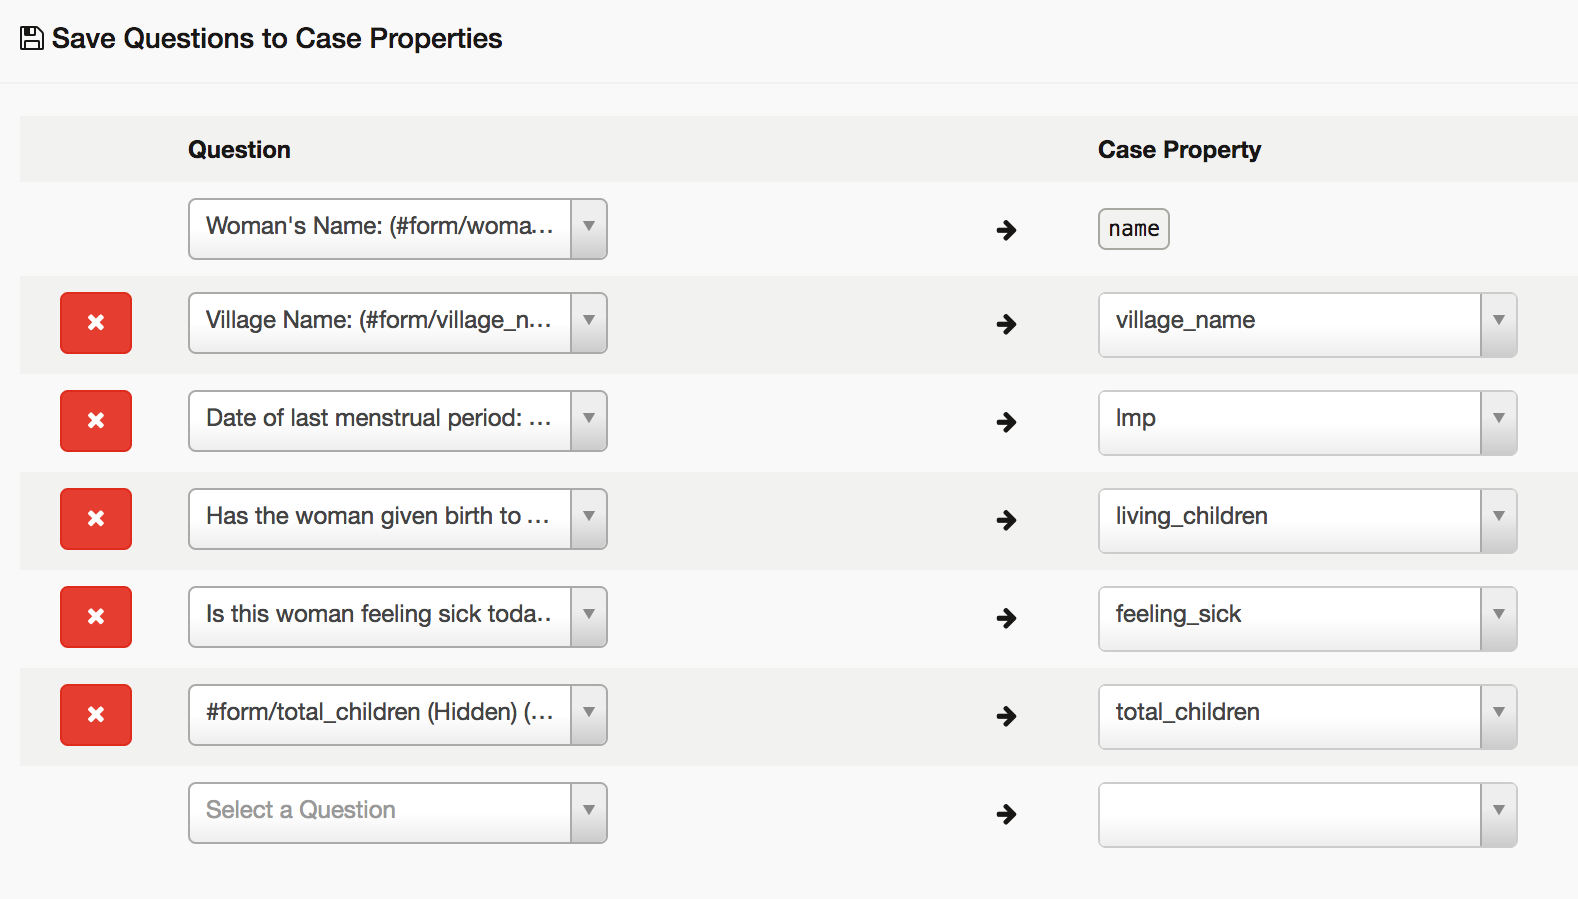
Make sure to save all of your changes.
2.
...
Saving Data from the Home Visit Form
Navigate to the Home Visit Form Case Management Tab
You will notice that in this tab, because it updates a case (instead of registering a new case), the display looks a bit different:

Go ahead and ignore the left side for now, we will come back to that.
On the right side of the screen, under "Save data to 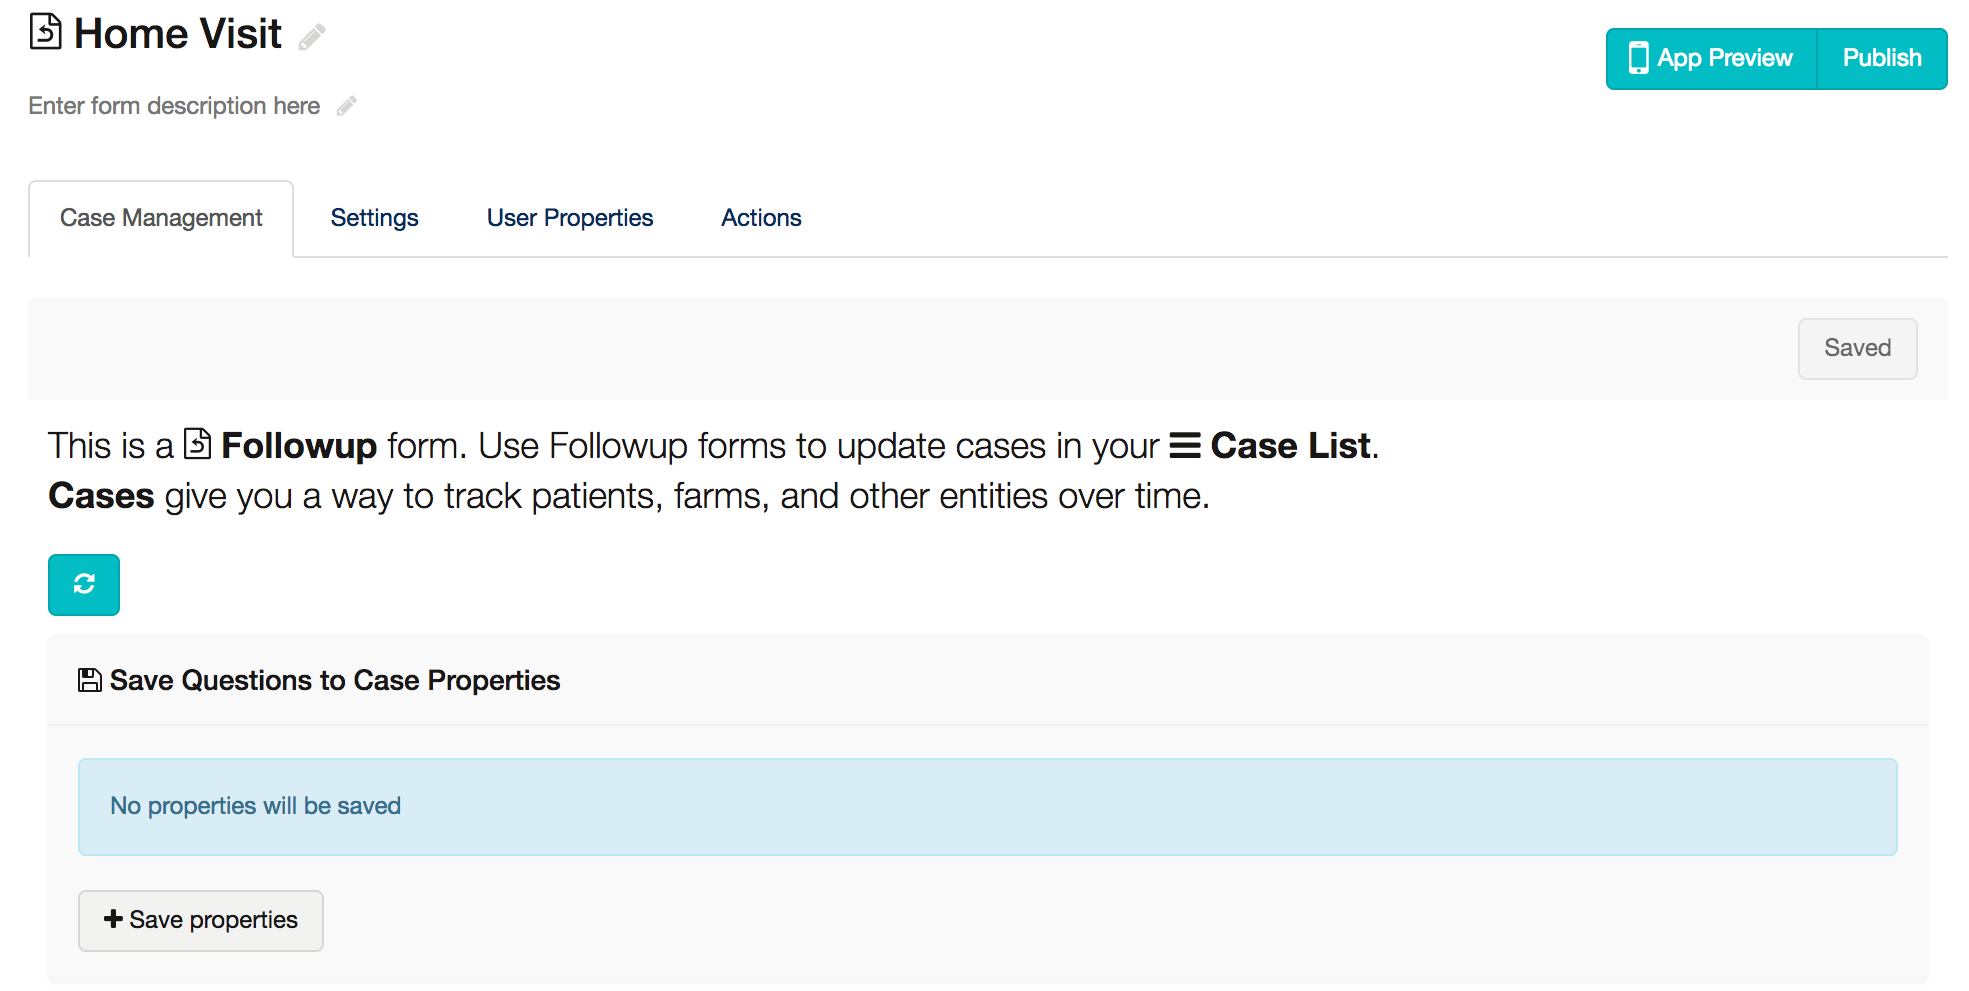
Under "Save questions to the following case properties" select questions until you see something like this:

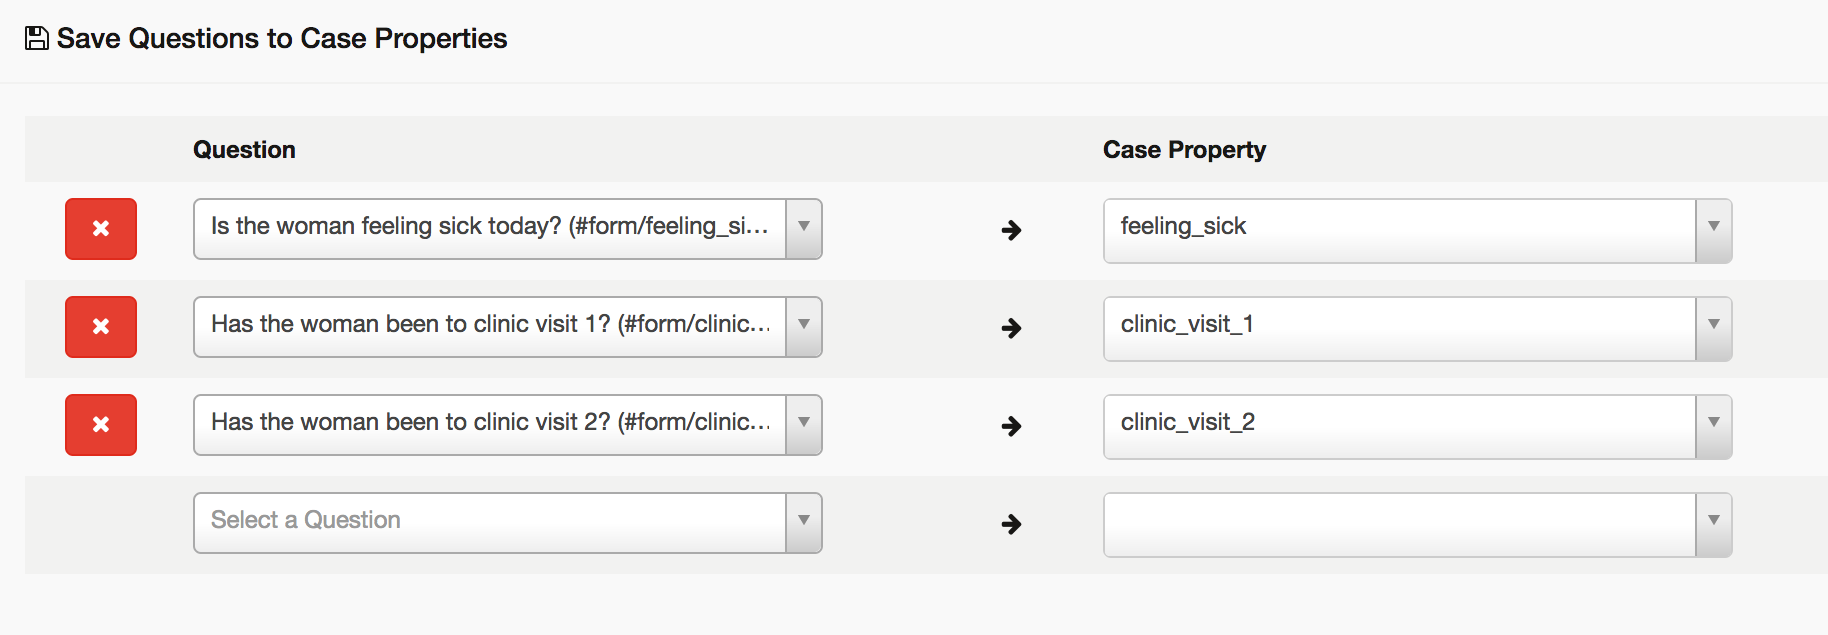
You may notice something interesting here- "feeling_sick" is the same name as a case property from the registration form. And you are correct! This actually means that they are the same case property. We save a value for feeling_sick at registration, and then here in the followup form we save a new value for feeling_sick. This new value will overwrite the old value. Both values will be available in CommCareHQ as form data, but the case data will only show the most recent value of this question.
Case Property descriptions are pulled from the Data Dictionary. When a case property contains a description, it will be displayed beneath the name of the property. If that description is updated, it will be reflected in the data dictionary as well. Each time a new property is added to the case, it will be added to the data dictionary. In the event that the description of a property is updated, the update will also be reflected in the data dictionary.

| Panel | ||
|---|---|---|
| ||